
Better Board-and-Batten Siding
Modern materials breathe new life into a siding that can be both rustic and refined.
The western edge of Pennsylvania’s Allegheny Mountains is a rural landscape, with small communities surrounded by farmland dotting the washboard hills. On a lot of the country roads, old barns are as much a part of the scenery as the trees. These barns aren’t particularly unusual, but they have a look that people like and that clients want me to replicate. Often, I do this with board-and-batten siding.
Sometimes called barn siding, board and batten are made up of wide vertical boards and narrower strips (battens) that cover the gaps. The material is often rough-cut, leaving the sawmill as “finished” siding without an additional trip to a mill shop for further beautification.
While this lack of polish can be stark, board and batten weren’t always relegated to barns and sheds. Its American heyday came in the 1800s when it was a common feature of grand Carpenter Gothic homes during the Gothic Revival period. Its vertical lines draw the eye upward, making a structure appear taller and slimmer, while the bold shadows cast by the battens give walls a striking texture.
Board and batten fell out of favor as siding for homes largely because it wasn’t as water- and airtight a system as horizontal lap siding. These days, though, siding materials are usually more of a decoration than a barrier to the elements. The task of weatherproofing a home falls on house wrap, flashing, and other materials inboard of the siding. This change, along with the introduction of materials that address some of the wood’s shortcomings, probably has something to do with the resurgence of vertical siding we’re now seeing on American homes.
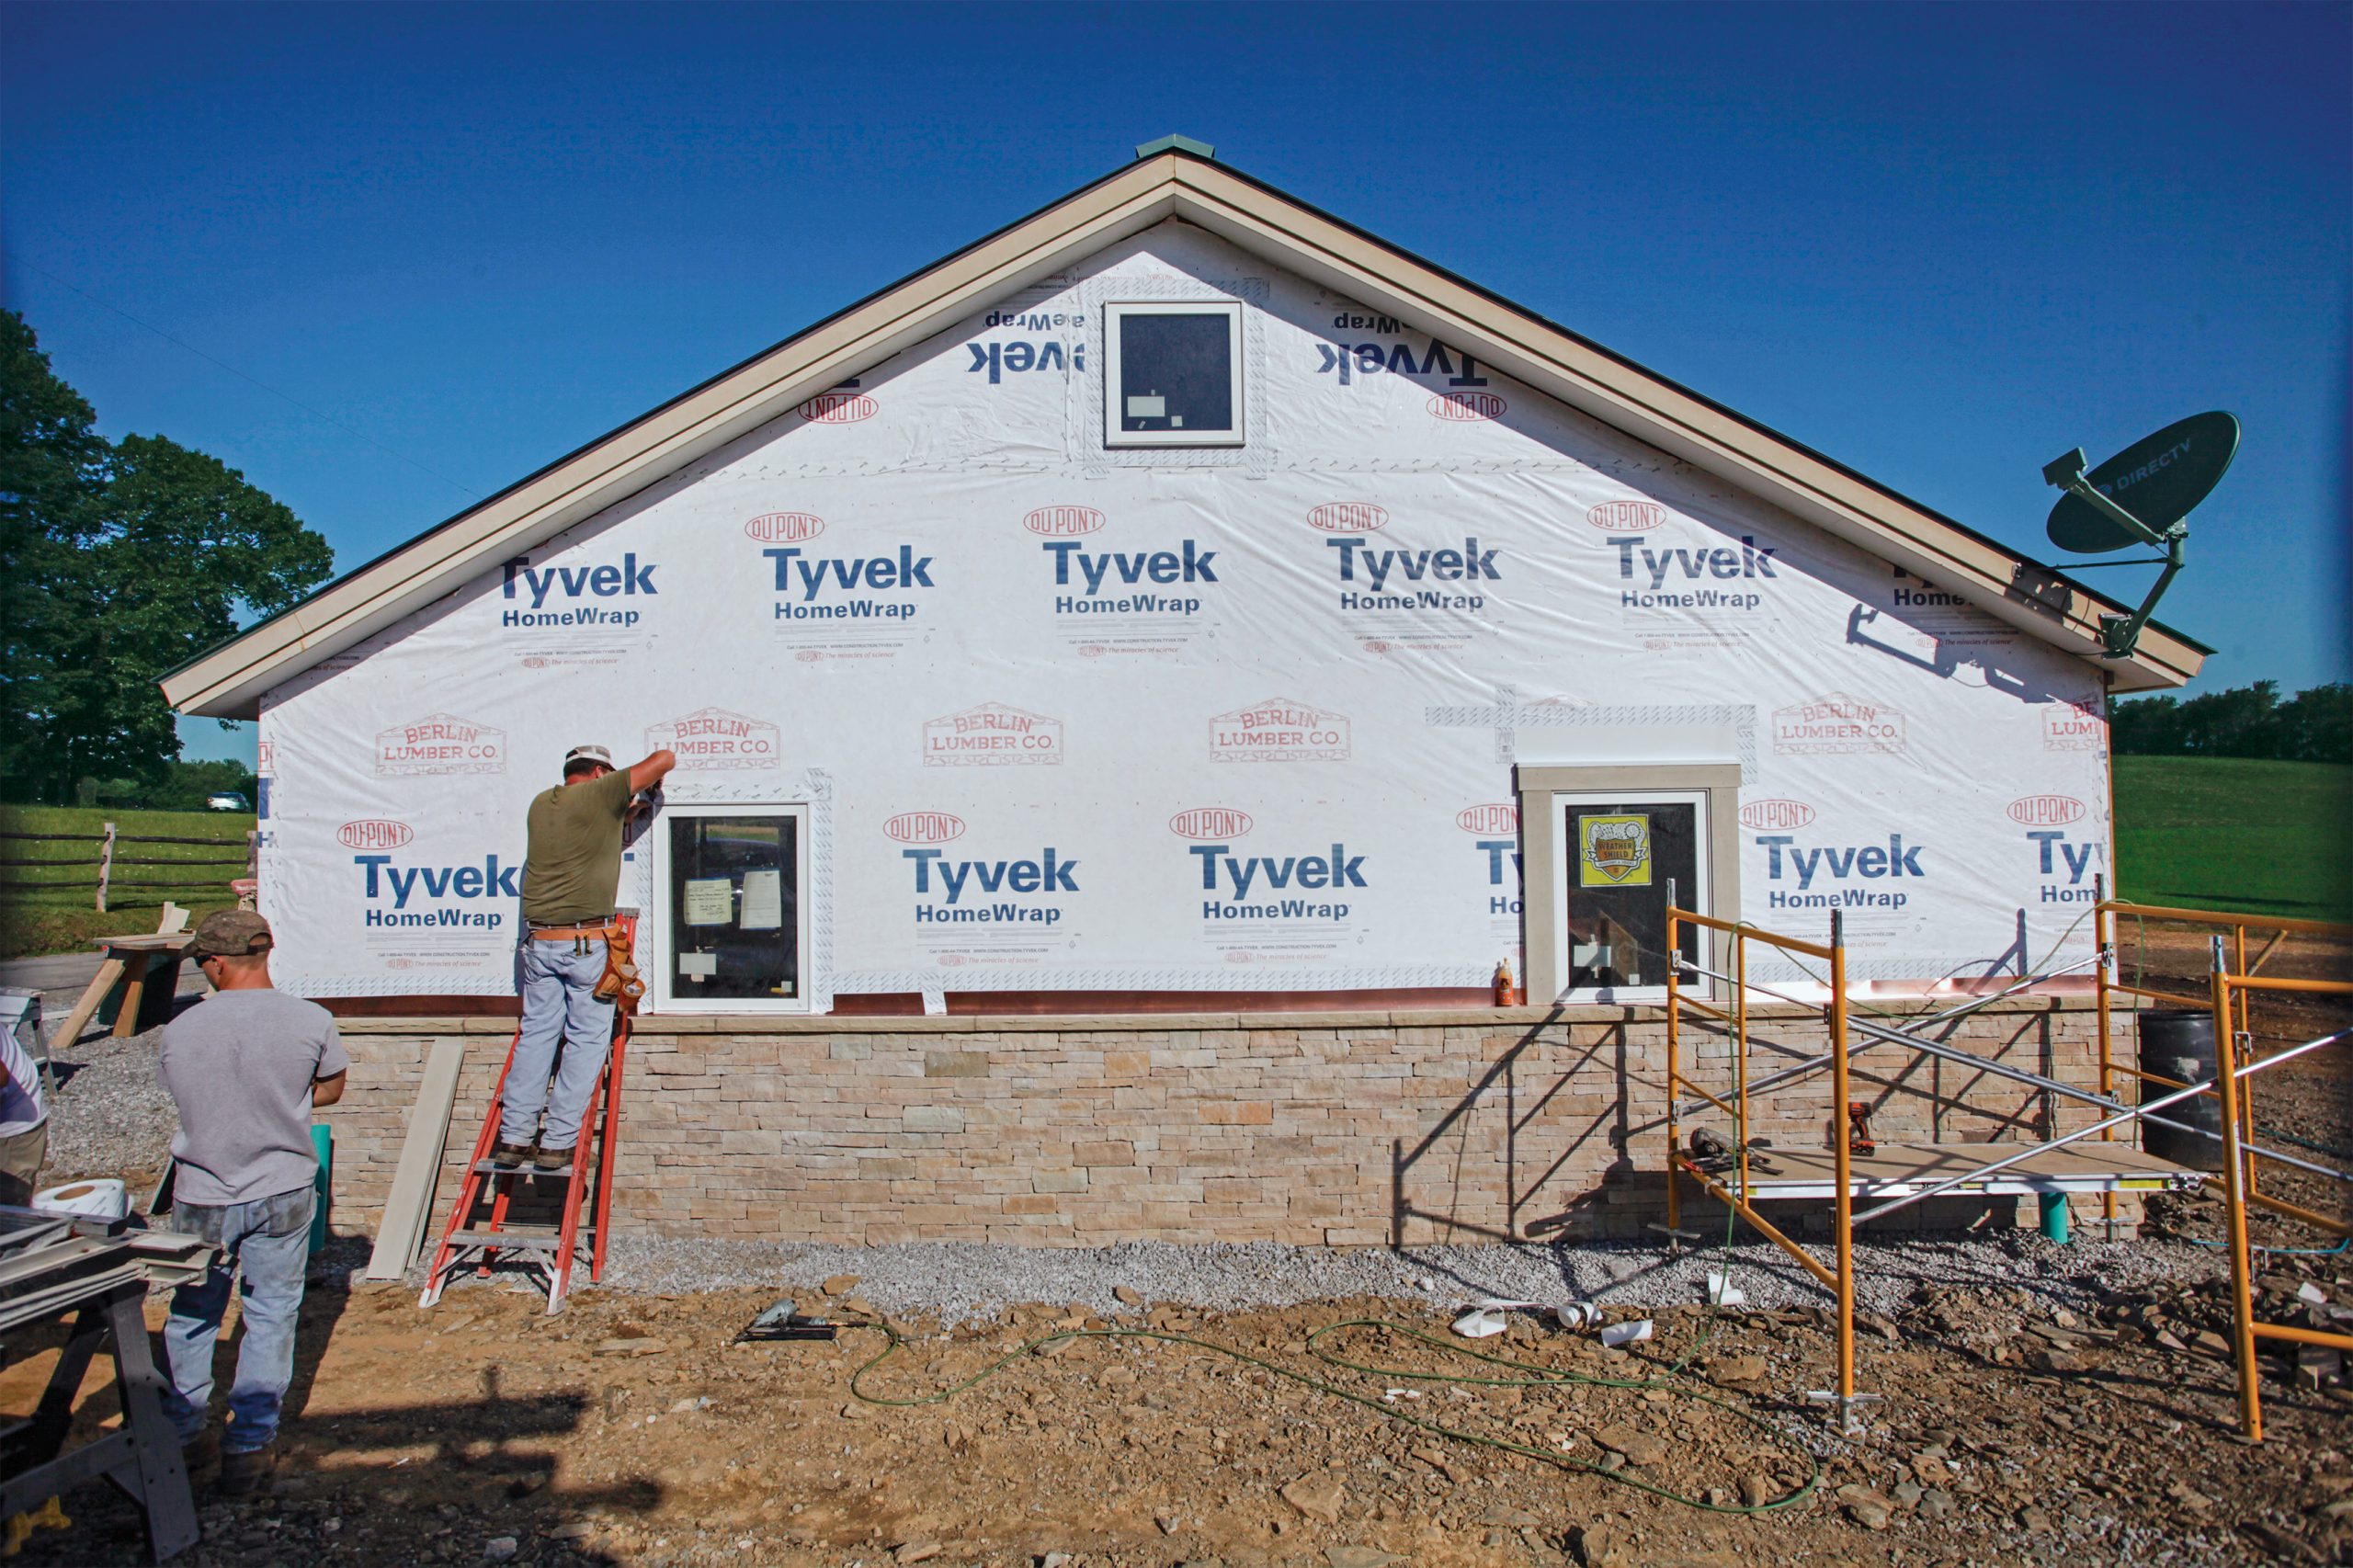
Wrap and flash as usual
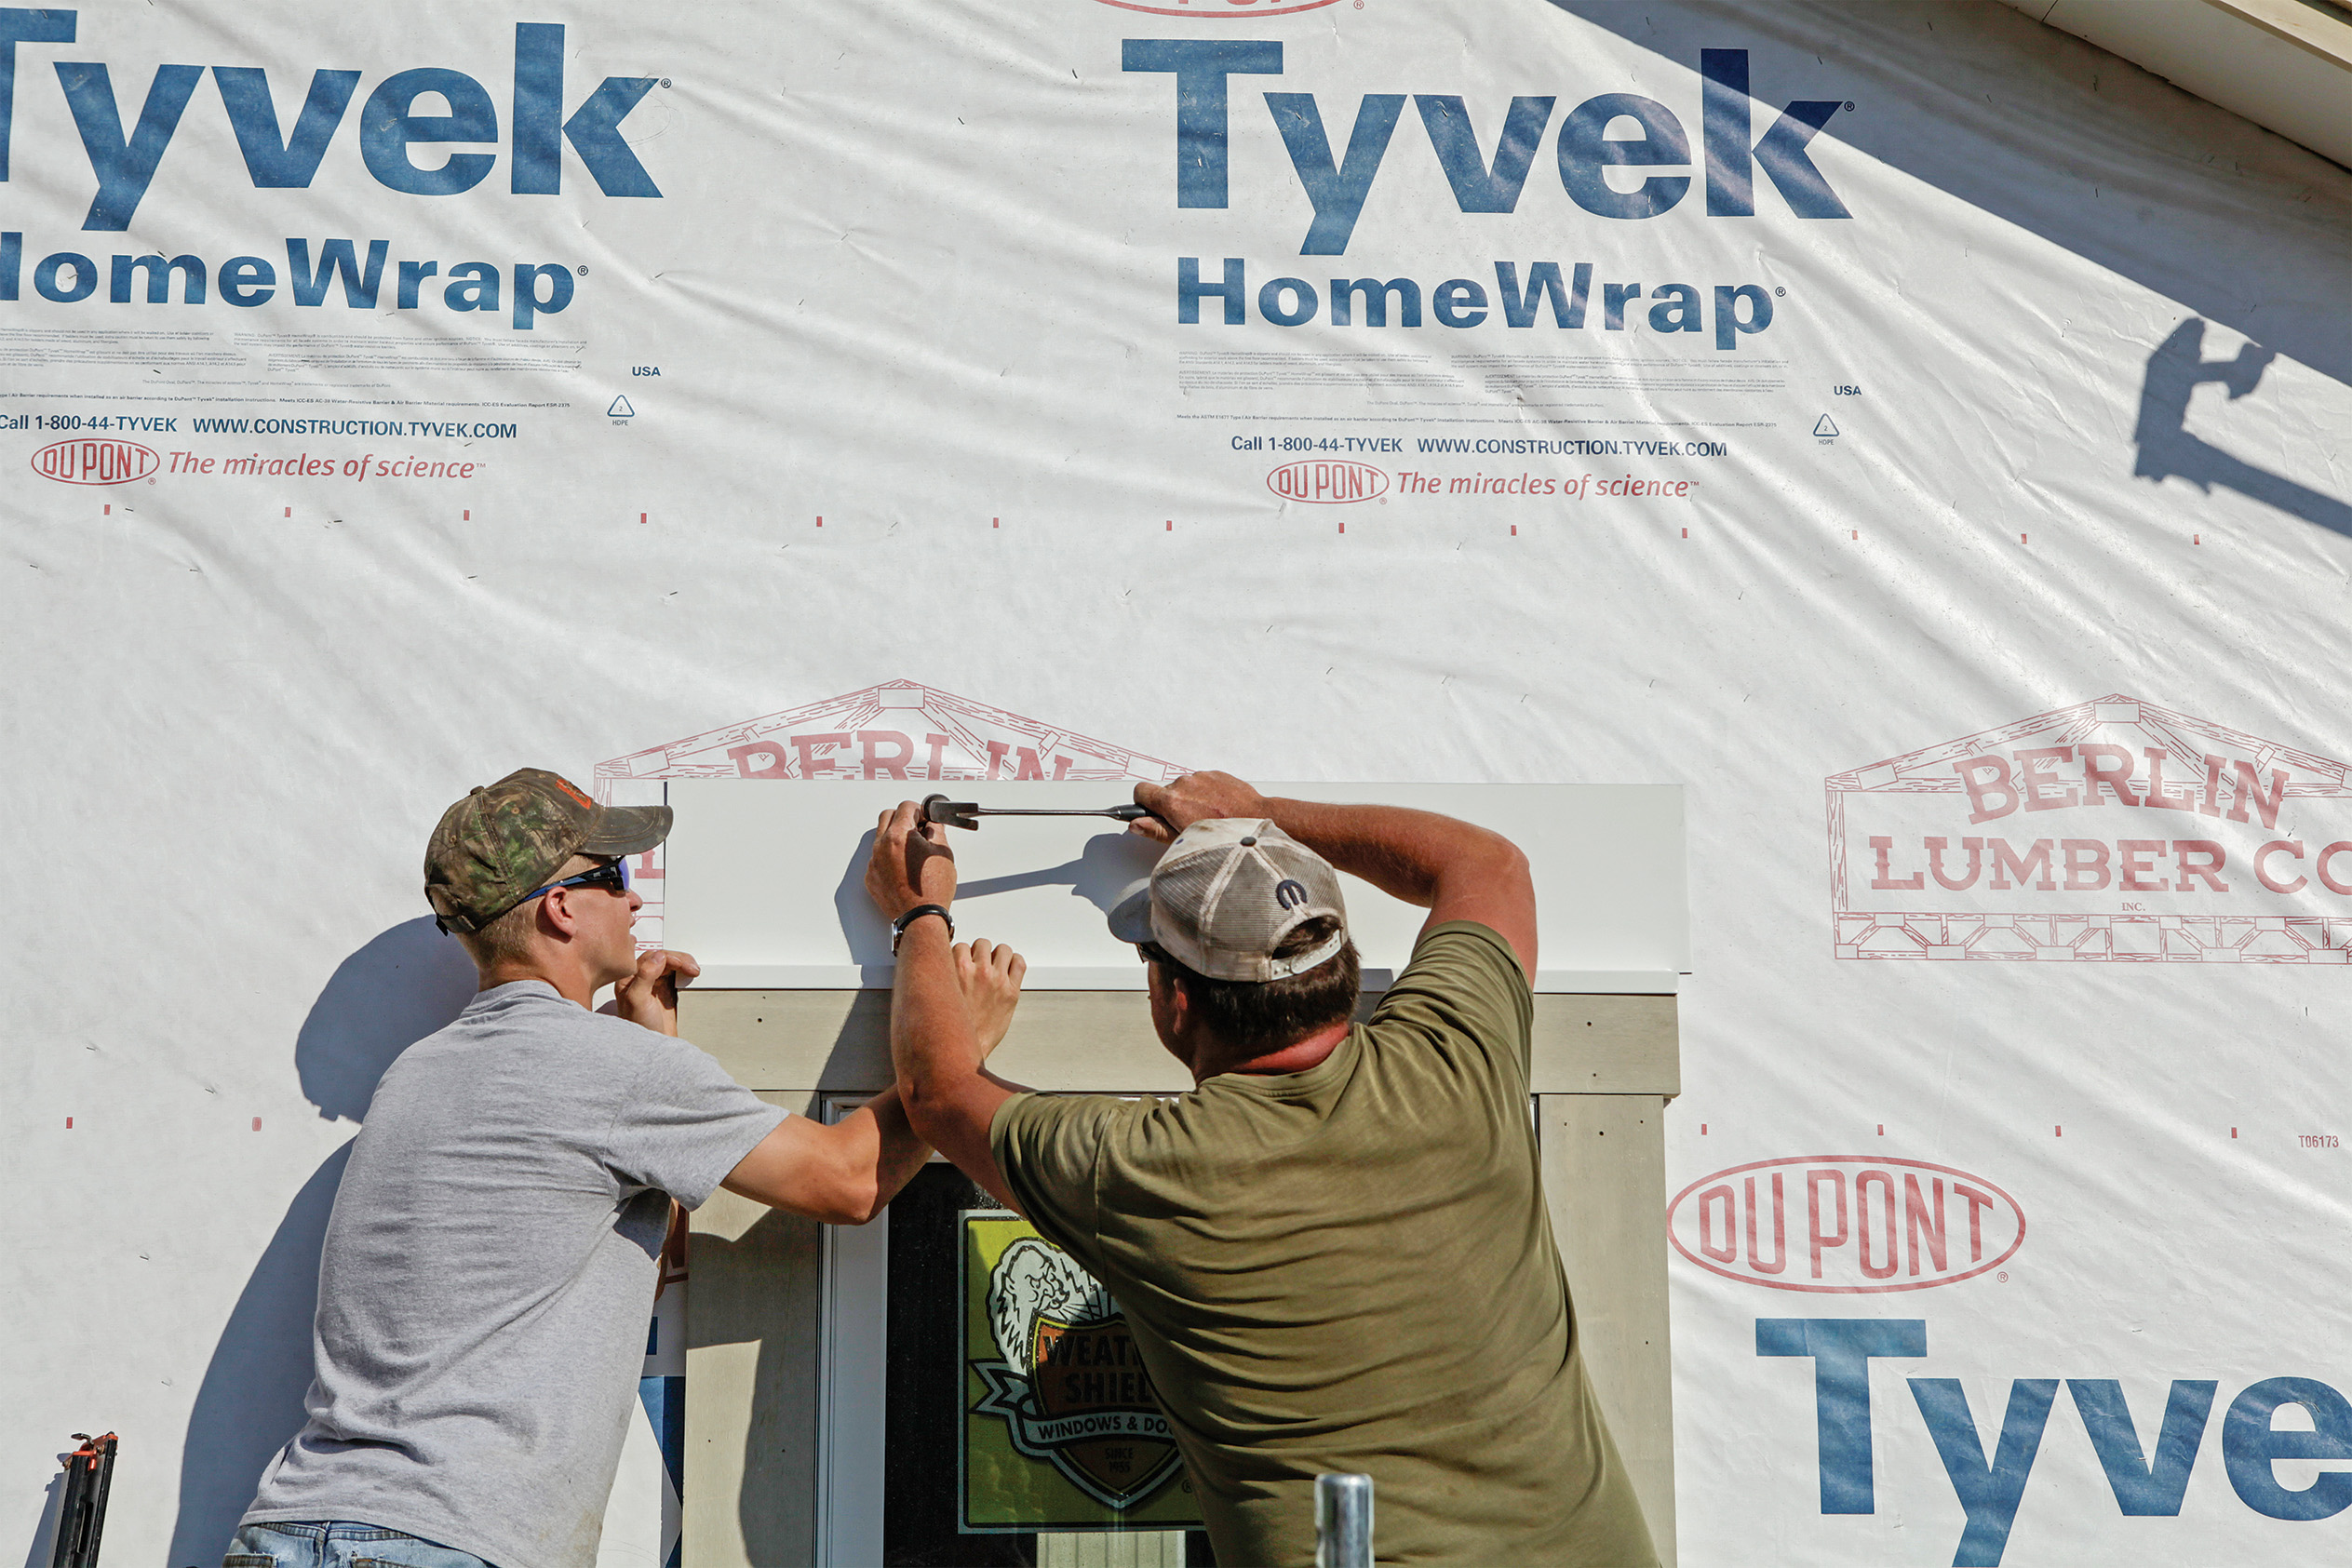
Whether we’re using wood or engineered materials like the Boral TruExterior poly-ash trim we used on this project, we prepare a wall for board-and-batten siding the same way we would for any type of siding. We cover the building in house wrap, and then flash and trim out the door and window openings.
When installing wood board and batten, we create a rainscreen gap using horizontal 2 1⁄2-in.-wide strips of 1⁄2-in. T1-11 siding nailed or screwed through the studs. The T1-11’s vertical grooves promote drainage and airflow. To keep out unwanted intruders, we staple 8-in. strips of metal insect screen horizontally across the top and bottom of the wall, attach T1-11 strips over the edge of the screen, and then roll the screen over the strips and nail it off to complete the insect barrier.
We left the rainscreen out on this project because poly-ash trim is nearly impervious to water and doesn’t need an air gap to promote drying (and because it’s more flexible than wood, I’m not sure it would lie as flat if you used such an assembly). The manufacturer does, however, recommend using a drainable house wrap behind TruExterior, as well as a sheathing that is a minimum 7⁄16 in. thick for holding power since, as with any vertical siding, nails won’t hit studs as often.
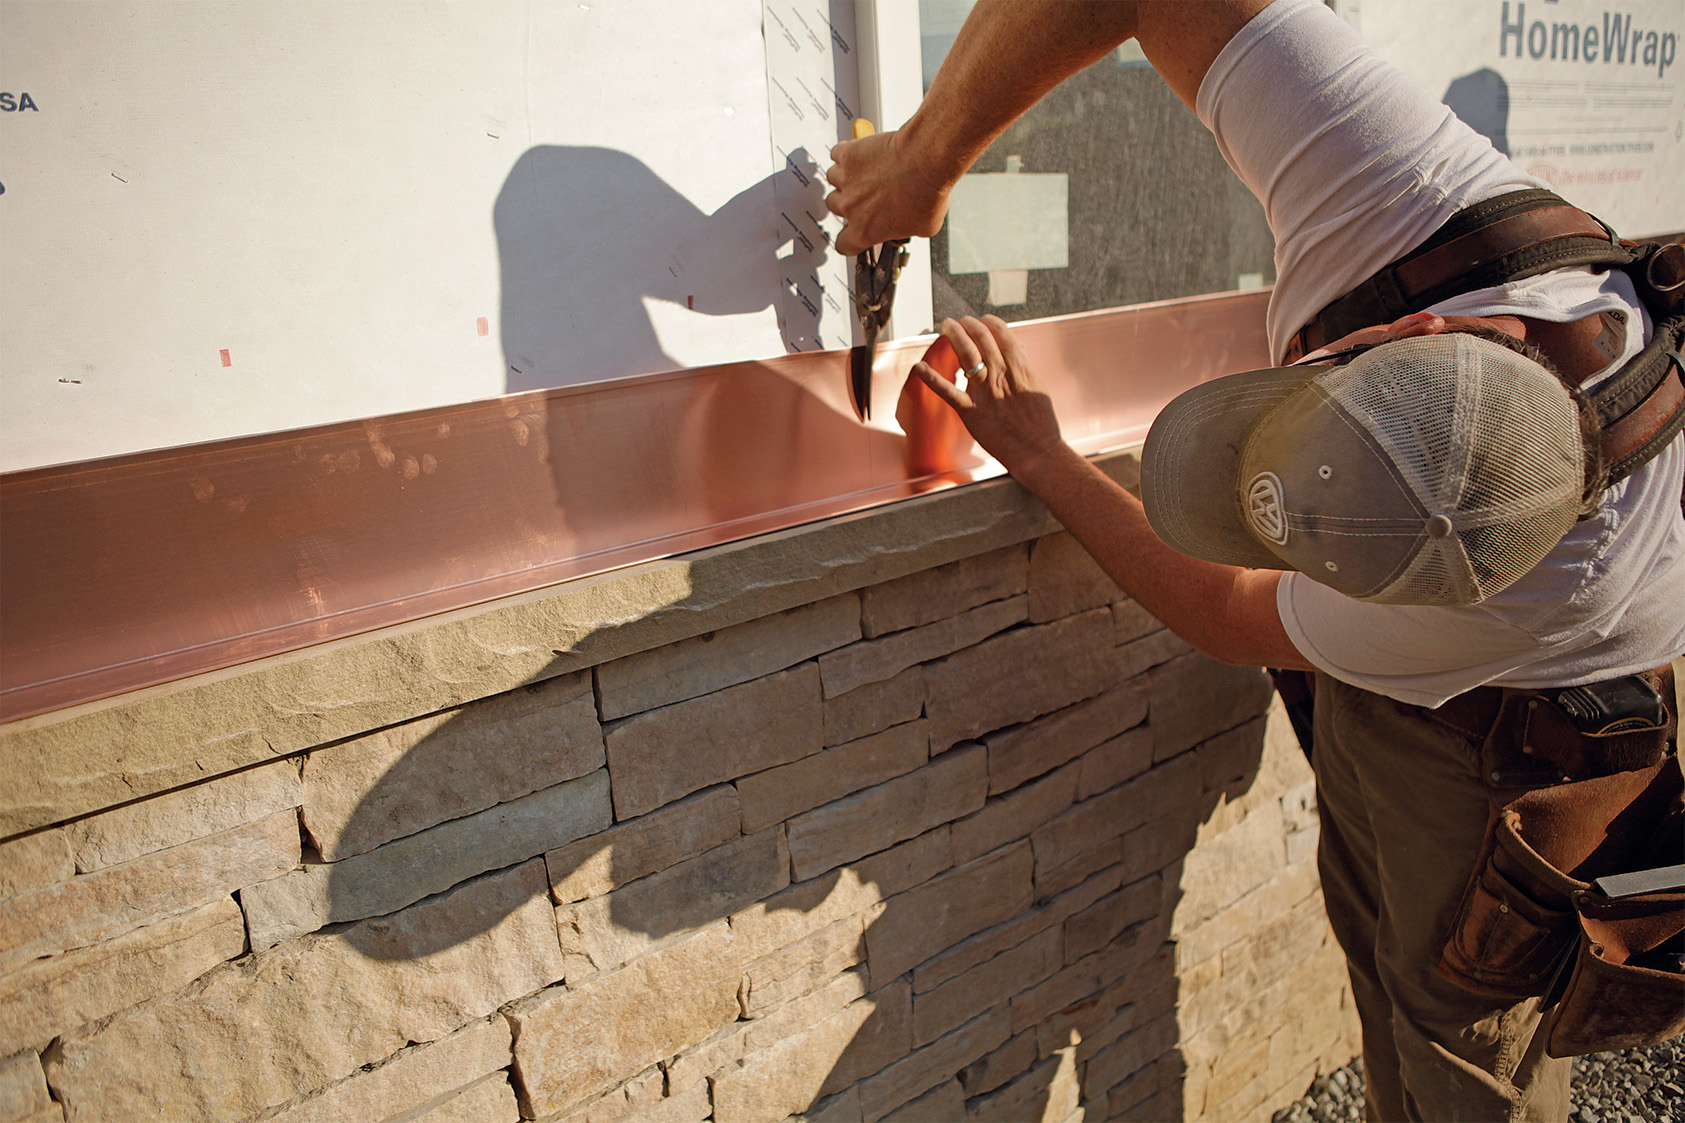
If a belly band is called for, we install that next. Here, our trim boards weren’t long enough to run the full length of the band. Rather than simply scarfing the pieces together, we used biscuits and a moisture-cure polyurethane adhesive (Gorilla Glue) for a stronger joint. The glue reacts with water and fills any gaps. We go back later and scrape off the squeeze-out using a sharpened putty knife. We also use glue on all joints in our window and door casings.
Prep the wall
For the most part, wall prep for board-and-batten siding is the same as that for horizontal siding. The only difference—at least when working with wood—is the rainscreen assembly, which is installed horizontally rather than vertically. When working with poly-ash trim, you can skip the rainscreen altogether.
Determine your layout
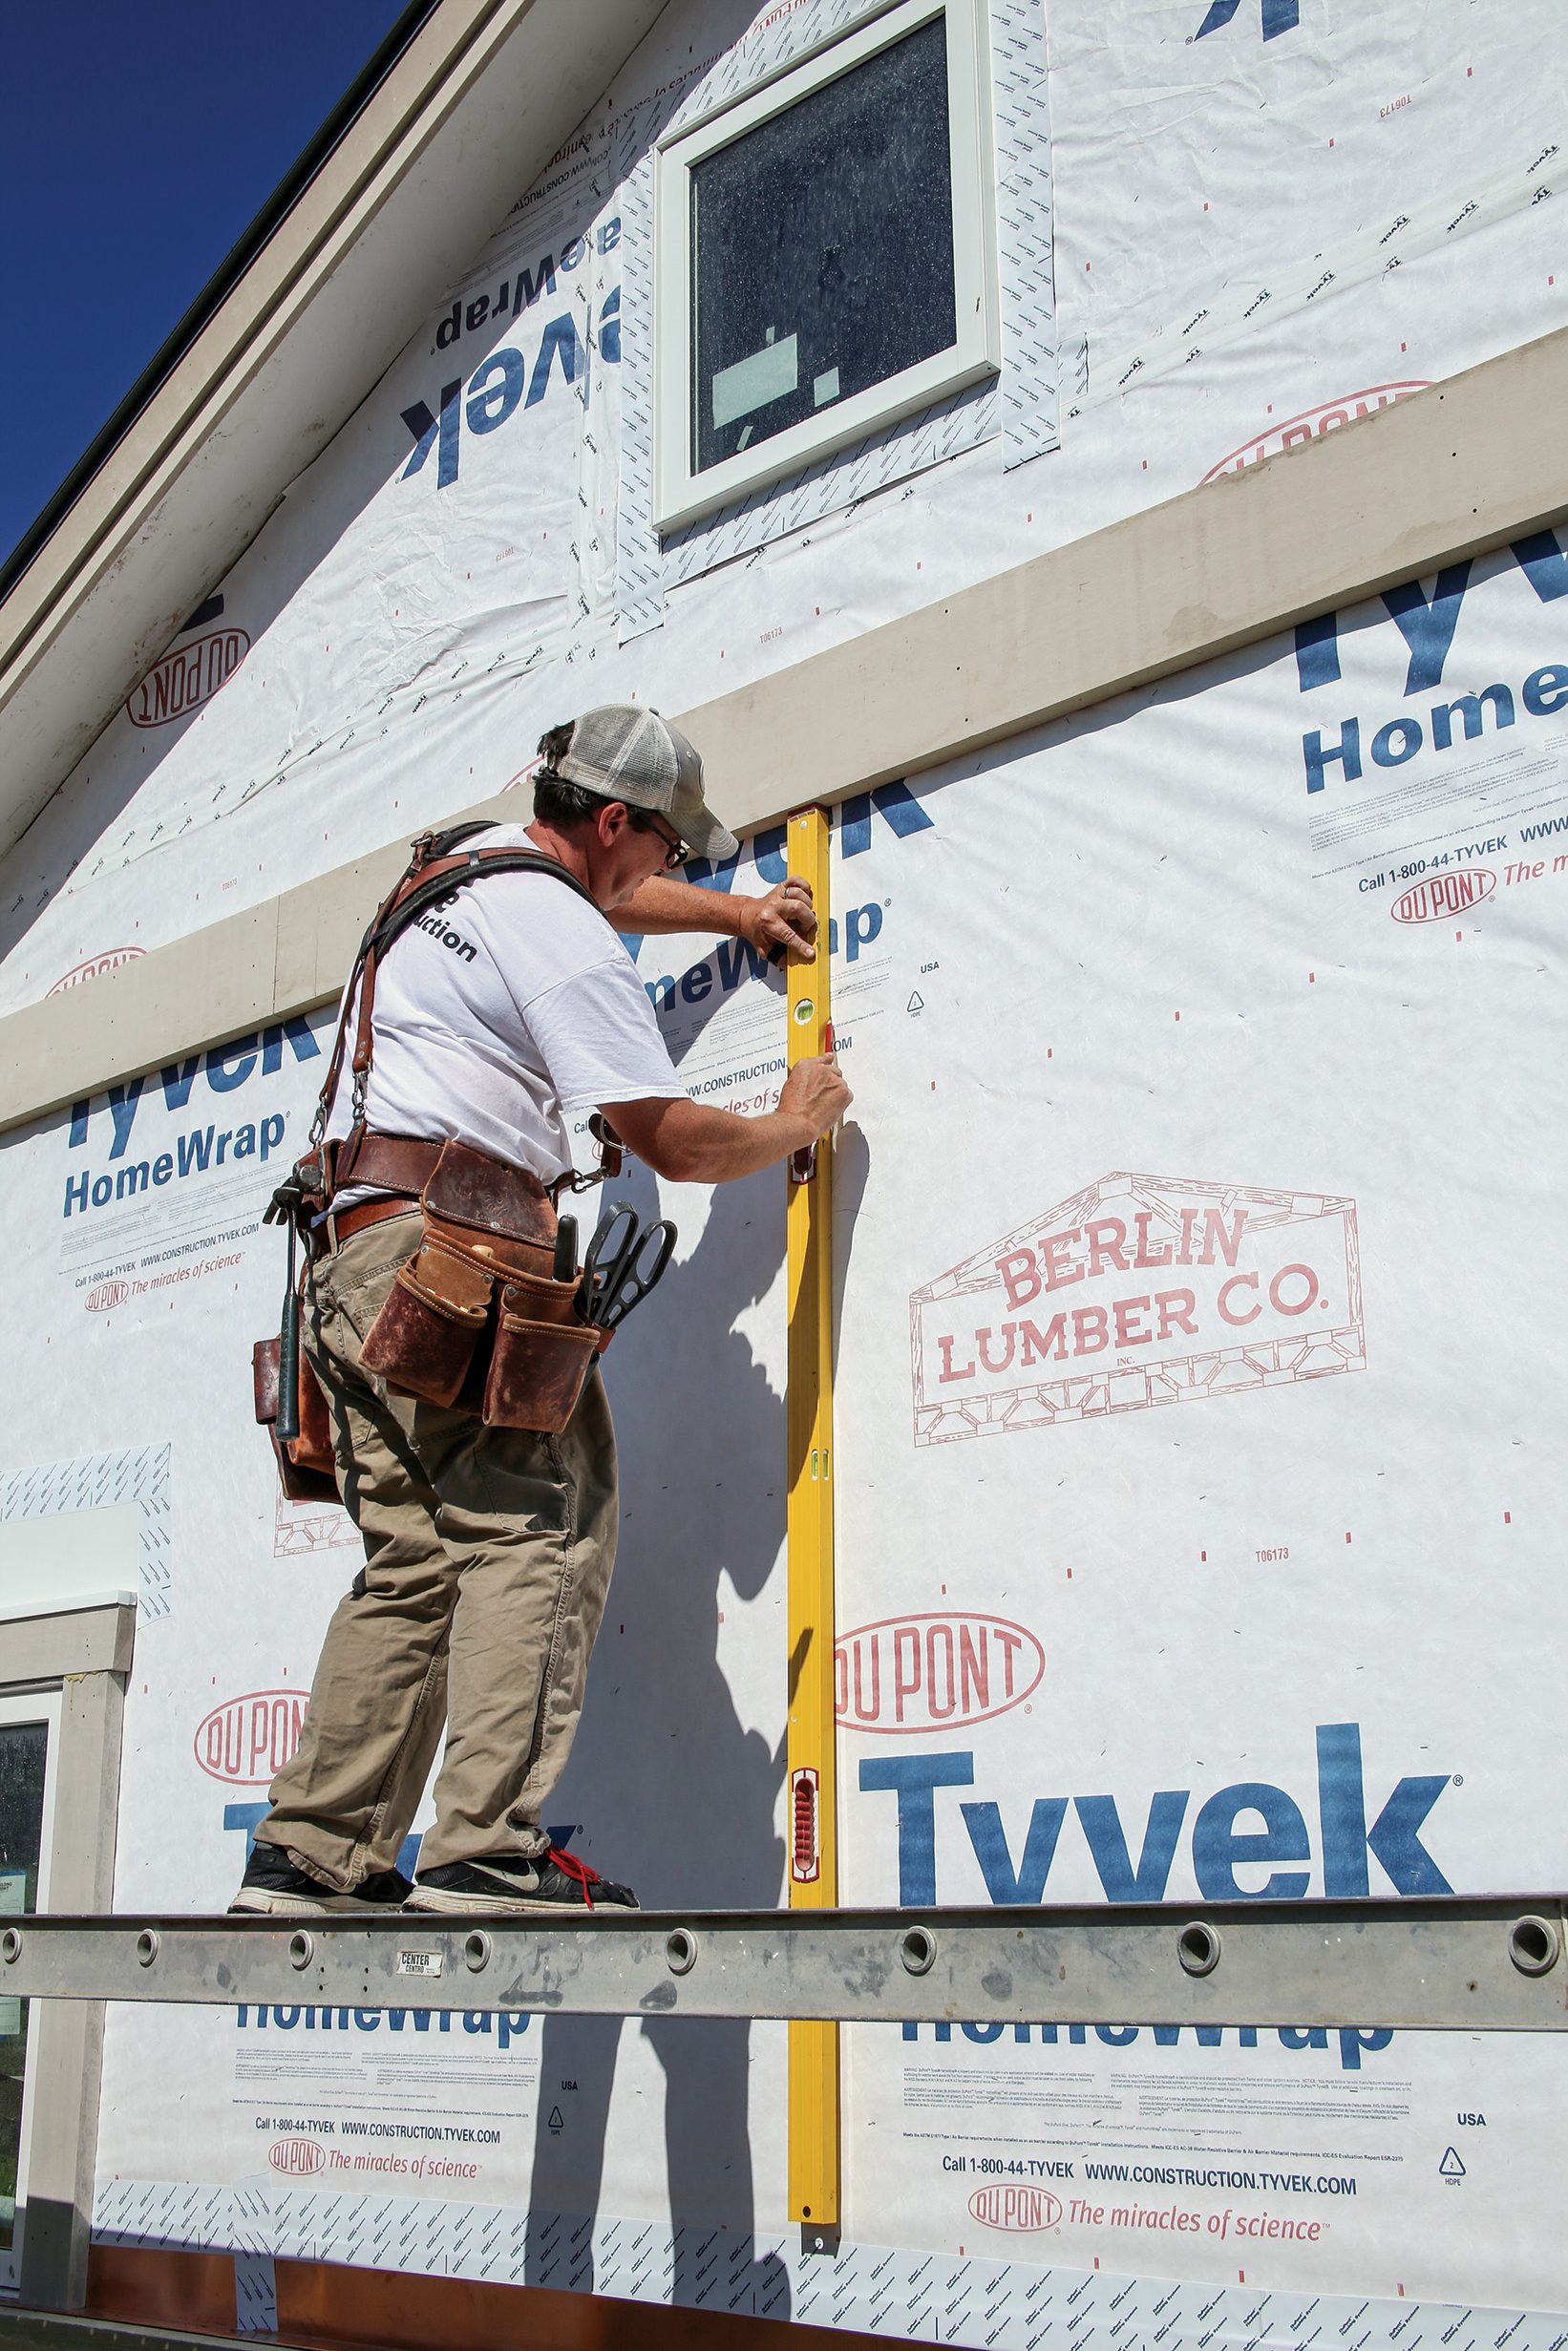
We start our layout by measuring the length of the wall and finding and marking the centerline from top to bottom with the aid of a long level and/or plumb bob. We like to work from the center out because it helps to achieve equal-width corners at both ends of the wall without any math. If we started at one end of the wall, we could wind up with an odd-width rip at the far end.
Some math is needed to ensure that the boards at the corners won’t be too narrow, but you may have other considerations, such as windows or gable vents, to contend with. Centering the first board on the centerline of the wall is one way to start, but you can also center a gap on the centerline; this choice can add or subtract inches from the width remaining at the corners. On this wall, we wanted the boards at the corners to be at least close to full width, which meant centering a gap on the wall’s centerline (the first board was set 1⁄4 in. to the right of the line).
When figuring out your layout, be sure to account for the gaps between boards as well as the boards’ width. Battens will cover the gaps, and, depending on the battens’ width, you have some room to adjust your spacing.
Typically, we leave at least a 1⁄2-in. gap between boards. On this project, the boards were 11-1⁄4 in. wide, the battens were 2-1⁄2 in. wide, and we were shooting for a 9-1⁄4-in. reveal between battens. The math conveniently left us with a 1⁄2-in. gap between boards. If necessary, you can adjust the size of the gap to avoid narrow boards at the corners, and to avoid having to rip down battens where they run along with door and window trim.
Plan your layout
Avoiding overly narrow battens alongside window and door trim requires planning and possibly some math. Adjust your spacing so that gaps between boards land a couple of inches or more to the side of head casings or on top of them. It’s easy to arrange it so the boards at the ends of a wall are the same size: Start in the middle and work out. Center the first board or a gap in the middle—whichever leaves you with the widest boards at the ends of the wall. Fasten the first board perfectly plumb, or the error will repeat in both directions.
Adapt to change
New materials are often designed to overcome real or perceived problems with existing products, and that’s certainly the case with poly-ash trim and siding material. But changing to a new material can also change the way you operate, and that’s true of this product in some respects.

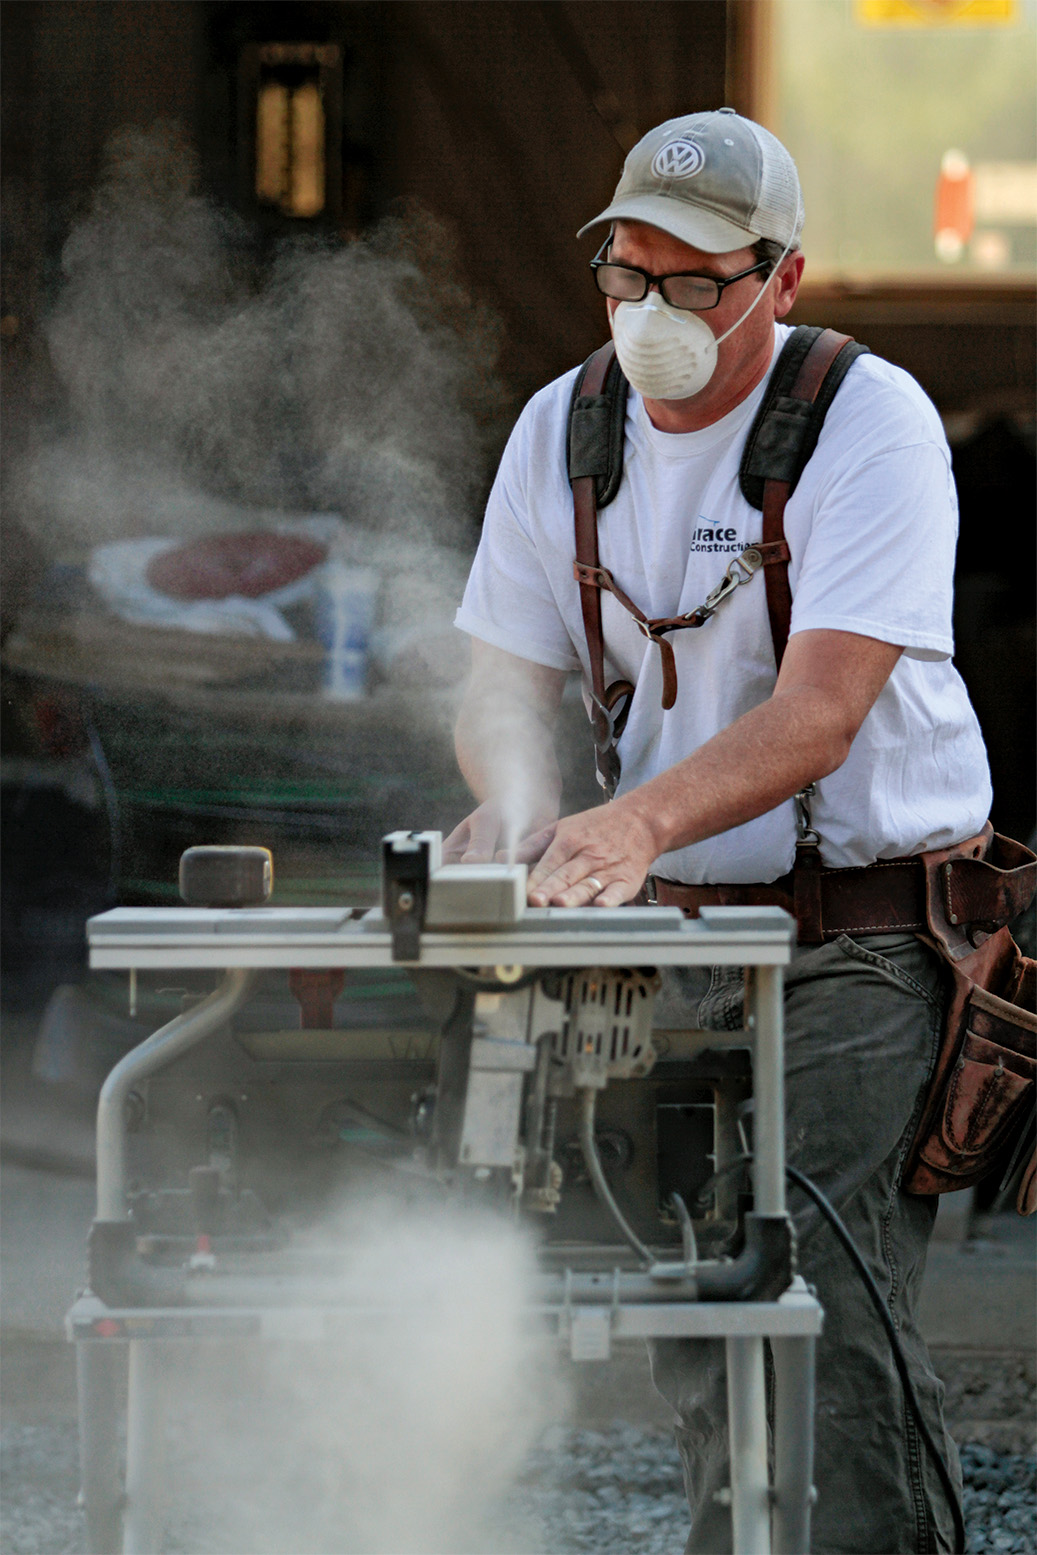

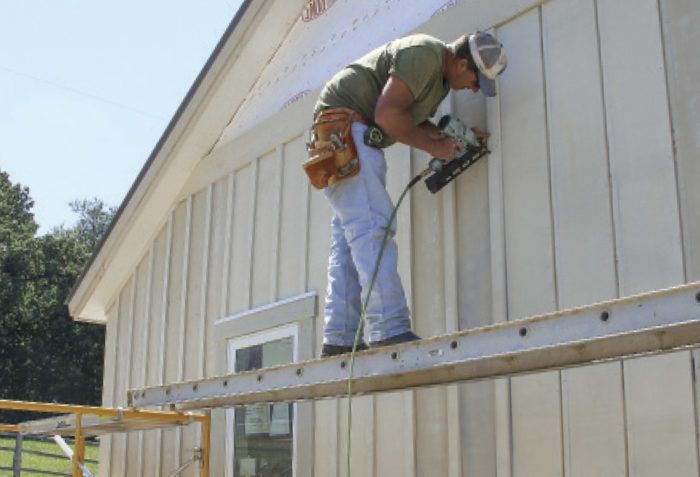
Install with the next step in mind
After cutting a board to length, our cut man marks it with a chalk line 1 in. from an edge on the finished face. The lines, made with non-permanent chalk, will be used later as a guide to position the battens.
It’s critical that the first board be fastened plumb. The next board in each direction will register directly off of that one, the next ones off of those, and so on. If a board is out of plumb at the beginning, this will repeat to the ends of the walls, where you’d be left with tapered rips. While it’s possible to hide an out-of-plumb mistake behind the battens, the lines snapped on the boards to locate the battens would then lose their usefulness. After the first board is up, we use spacer blocks to set a consistent gap between
successive boards.
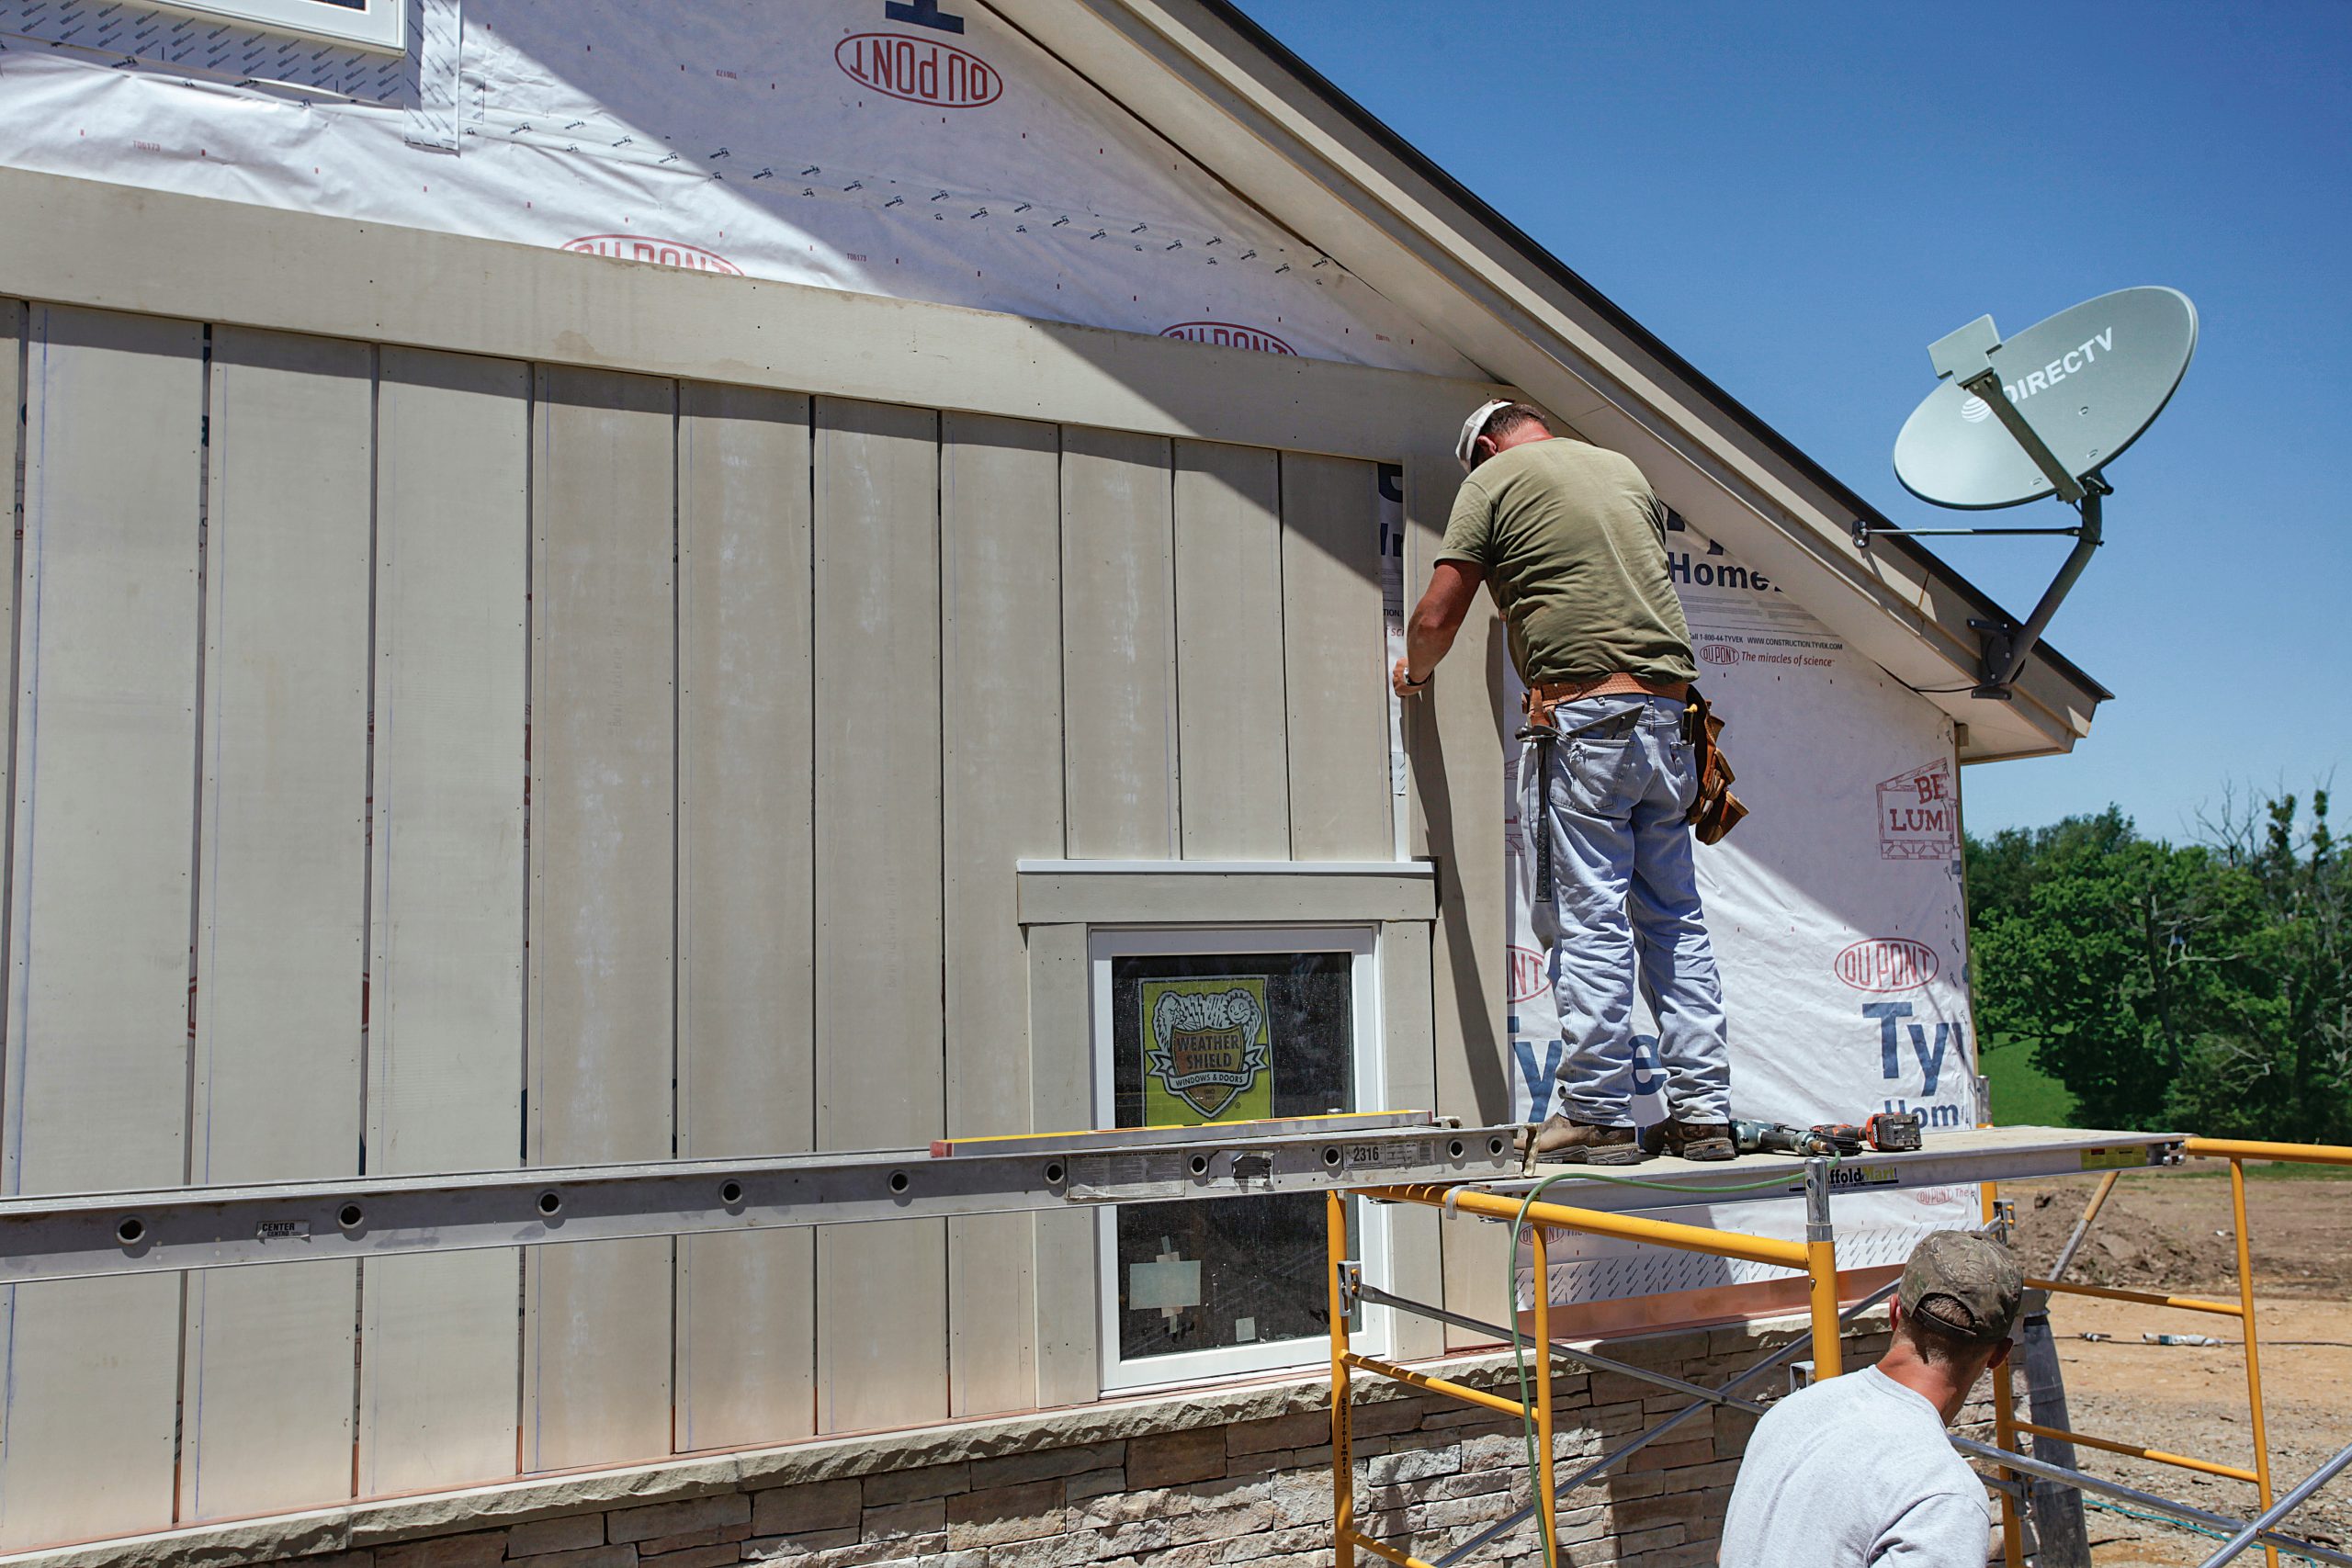
The boards (and sometimes battens) are cut to fit tight around the door and window trim. If necessary, we adjust our gaps so we aren’t left with narrow strips of batten alongside the trim. It’s also possible to cheat this by ripping a bit off of a few boards so the trim is farther away from any gap. A small variation in the exposure of the boards between the battens is hard to notice, but we try to avoid rips when we want consistent reveals.
When working with wood, we leave a 2-in. gap between the bottom ends of the siding and any horizontal surfaces or intersecting roof planes. But poly-ash trim is rated for ground contact, so we can—and do—run it right down to intersecting surfaces.
All outside corners end with battens butted together. It looks better if both legs of a corner appear to be the same width, so in this case, we ripped 3⁄4 in.—the thickness of the material—off of one batten at each corner to get 2-1⁄2 in. of batten on both legs of the corner.
When nailing, take movement into account—or don’t
Wood swells and shrinks as moisture cycles in and out, and you can accommodate this—and keep boards and battens from splitting—with smart nailing. We typically nail down the center of the boards using 2-1⁄2-in. stainless-steel ring-shank siding nails, then attach our battens with nails through the gaps between the boards (nails spaced one-third the width of the boards work too). The key is to nail so the boards are allowed to grow and
shrink under the battens, so they don’t split.
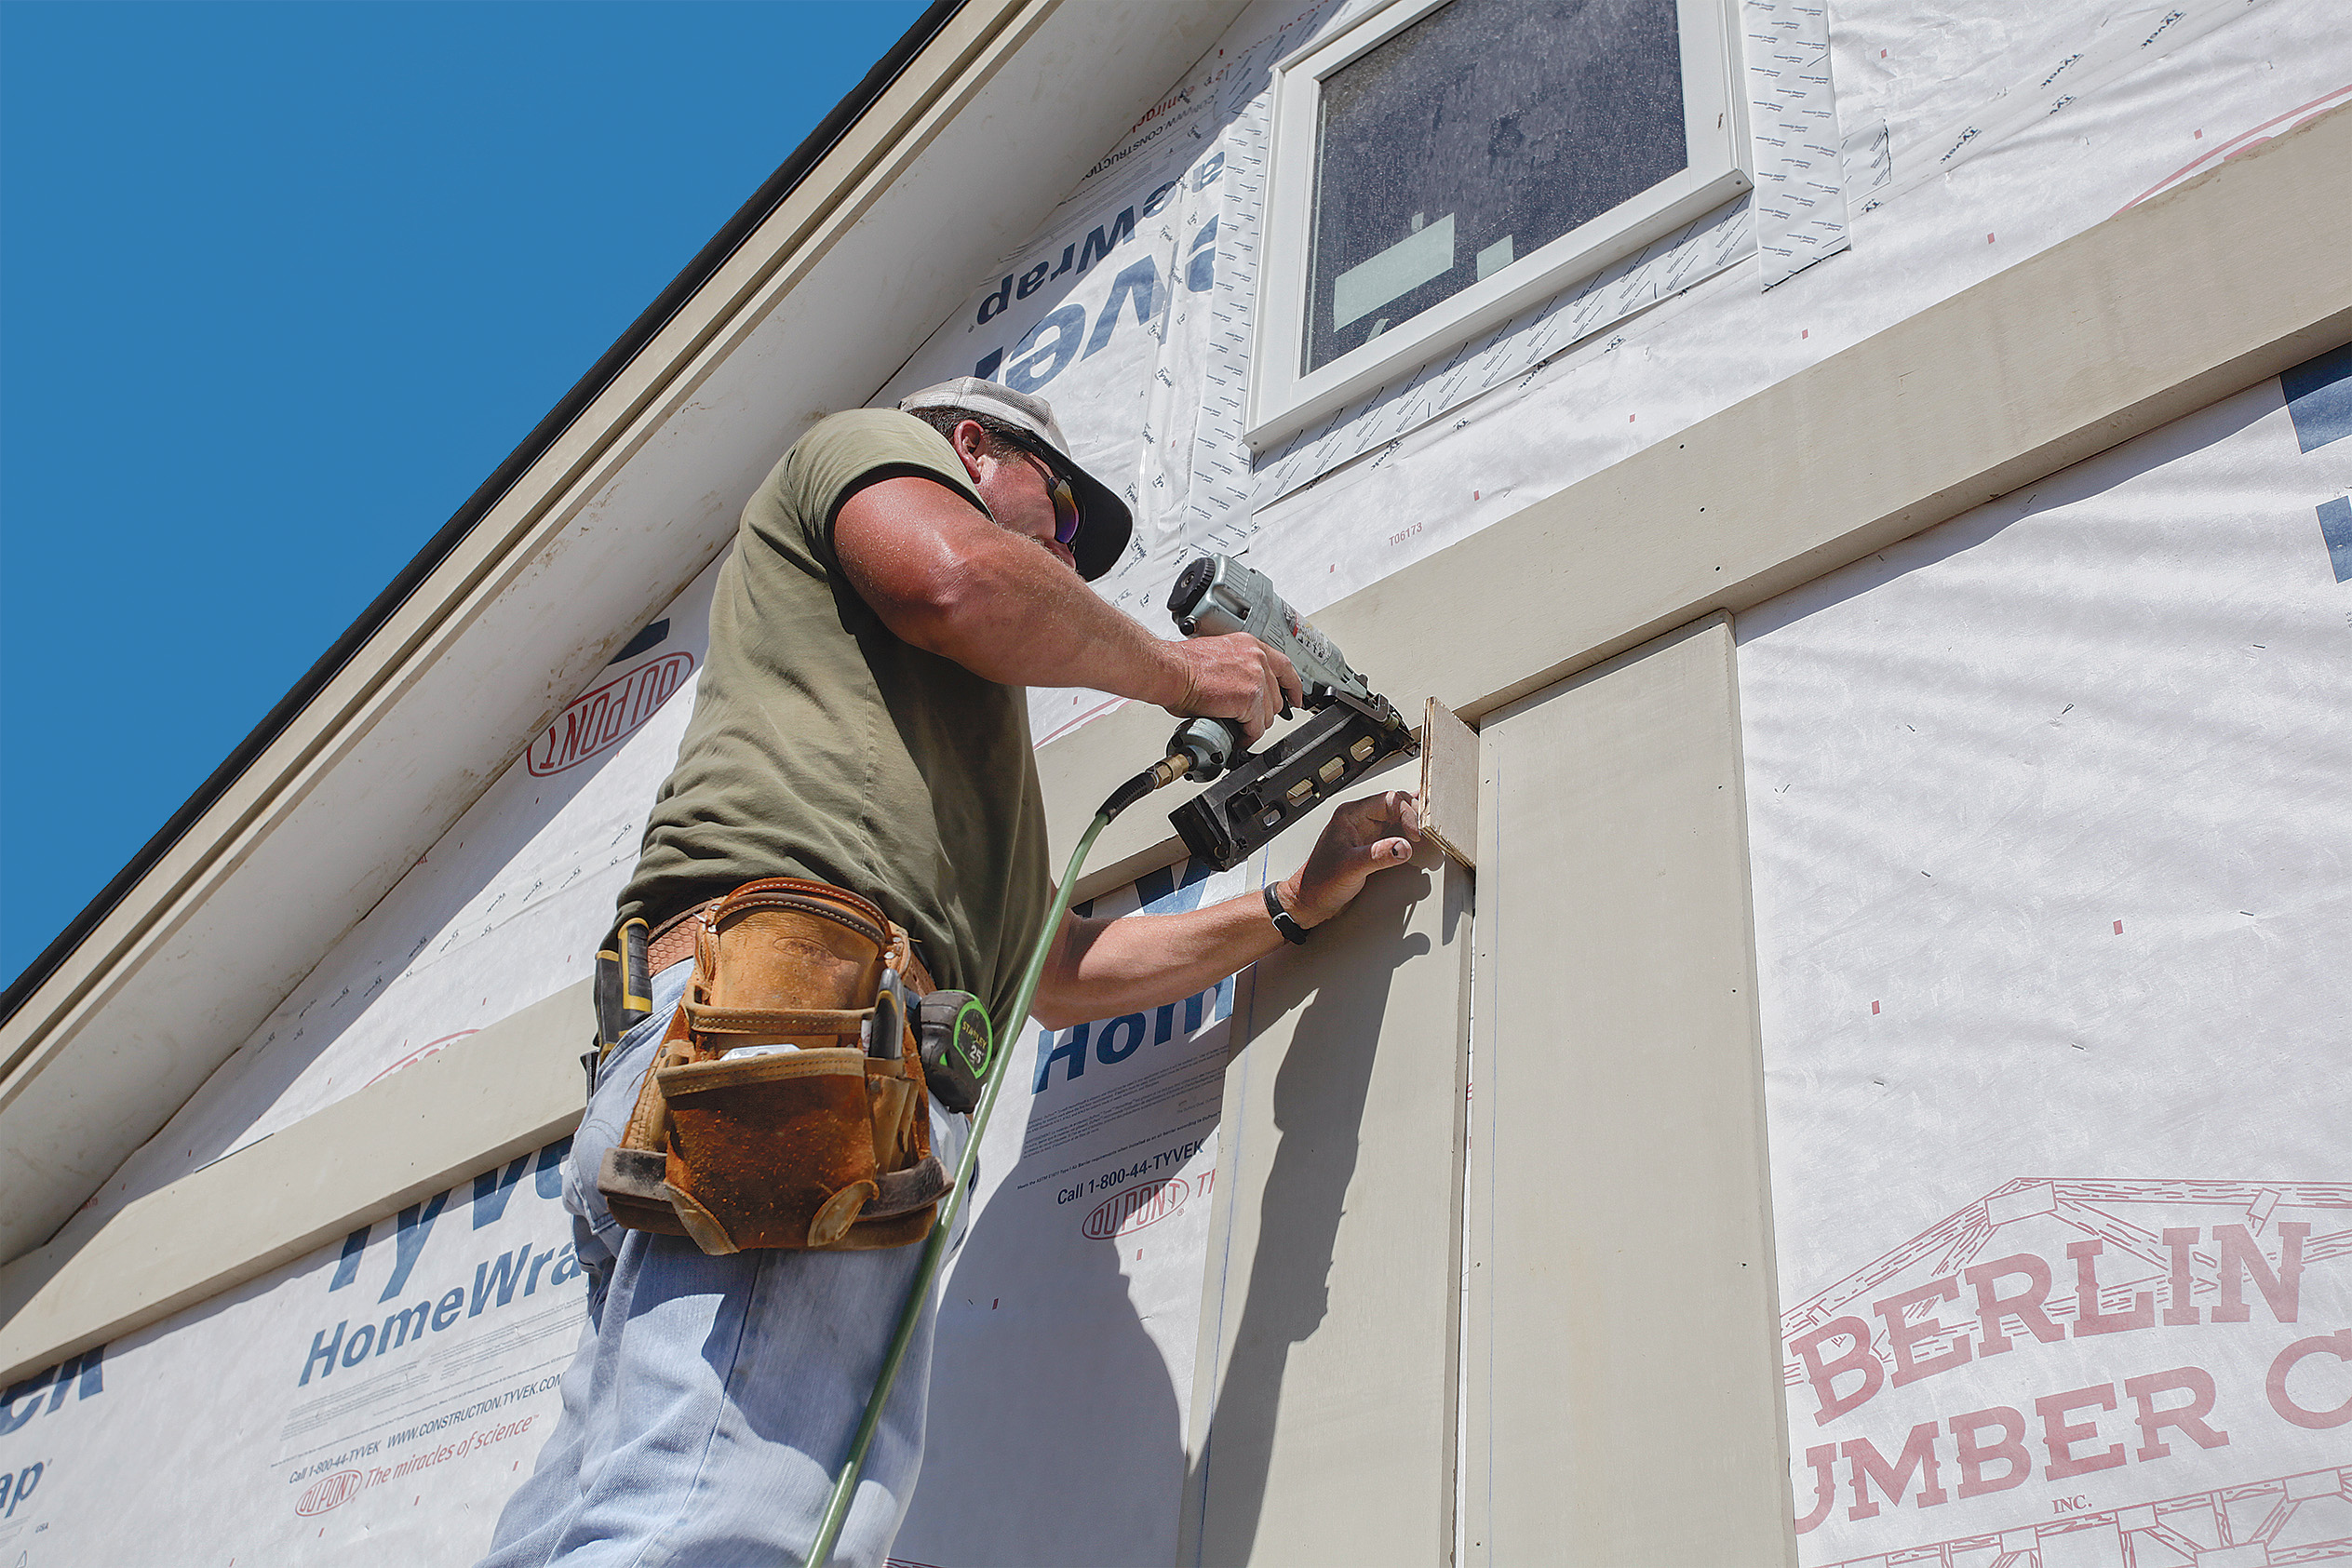
Because poly-ash trim doesn’t cycle moisture, our nailing pattern was different. Boral recommends nailing within 2 in. of the edges, with nails spaced no more than 24 in. on center. This allows us to hide the board nails under the battens. Nailing along the edges of the battens, meanwhile, produces tight seams where they meet the boards. We go
back later and fill the nail holes with caulk.
Our TruExterior supply rep recommended fastening the boards and battens with 15-ga. stainless-steel trim nails long enough for 1-1⁄2 in. of penetration into the sheathing. Nails for board and batten are typically larger than that because they have to resist the movement of wood. Poly-ash material is inherently more stable than wood, so, as the supply rep said, “We don’t really need the help of a fastener to keep it from moving.”
After nailing, we run beads of acrylic caulk down both sides of each batten and along joints between the trim and siding to give the walls extra protection from the elements.
The timeworn house and garage we remodeled on this project weren’t much to look at when we started, but with their new siding, both structures now blend into the rural neighborhood quite nicely. Even though the material we used isn’t traditional, the look we achieved sure is.
Nailing: New materials, new patterns
The key when nailing wood board-and-batten siding is to allow for expansion and contraction so the material doesn’t split. You want the boards and battens to be able to slide past each other. That usually means keeping the nails away from the edges or nailing just one edge. Many new materials behave differently than wood, so the old rules don’t always apply. Check with manufacturers for guidance on how to fasten their products.

Nailing Recommendations: There are various acceptable nailing patterns for attaching wood board-and-batten siding. For narrower boards, one row of nails down the middle, 24 in. on center, works well. For wider boards, you may want to use two rows of nails spaced one-third the width of the board. The nails should penetrate 11⁄2 in. into framing or sheathing. Battens then get nailed 24 in. on center through the gaps between boards. When working with poly-ash trim, which barely moves, it’s recommended to nail within 2 in. of the edges and ends, 24 in. on center, using 15-ga. stainless-steel trim nails long enough for 11⁄2 in. of penetration into the sheathing.
For the complete article with more detail and photos, click the View PDF button below.

View Comments
Why no "after" picture?
Same question!
Reverse board and batten (battens first then boards) are suggested for a rain screen behind the siding. But to keep the "look" of traditional board and batten what about reverse board and batten and then a second layer of battens to cover the board gaps? So sheathing, WRB, battens (= vertical furring), boards with gaps over battens, then battens again over gaps. If this makes sense, what would the nailing pattern be (or screwing pattern if attaching to sheathing rather than blocking)?
What are your recommendations on sealing the wood? Does the back side of the boards need to be sealed as well?
Wouldn't be easier to install 4x8, 4x9 or 4x10 panels and battens over rainscreen? Prefinished fiber cement anyone?