
Choosing a Tile Adhesive
Thinset mortars are the most popular choice for most tile installations, but there are several types, so learn which one is best for your type of project.

There are many ways to adhere tile permanently to backerboard and other substrates. While mastics and epoxies have their place in some applications, thinset mortars are by far the most popular products for DIY tile installations.
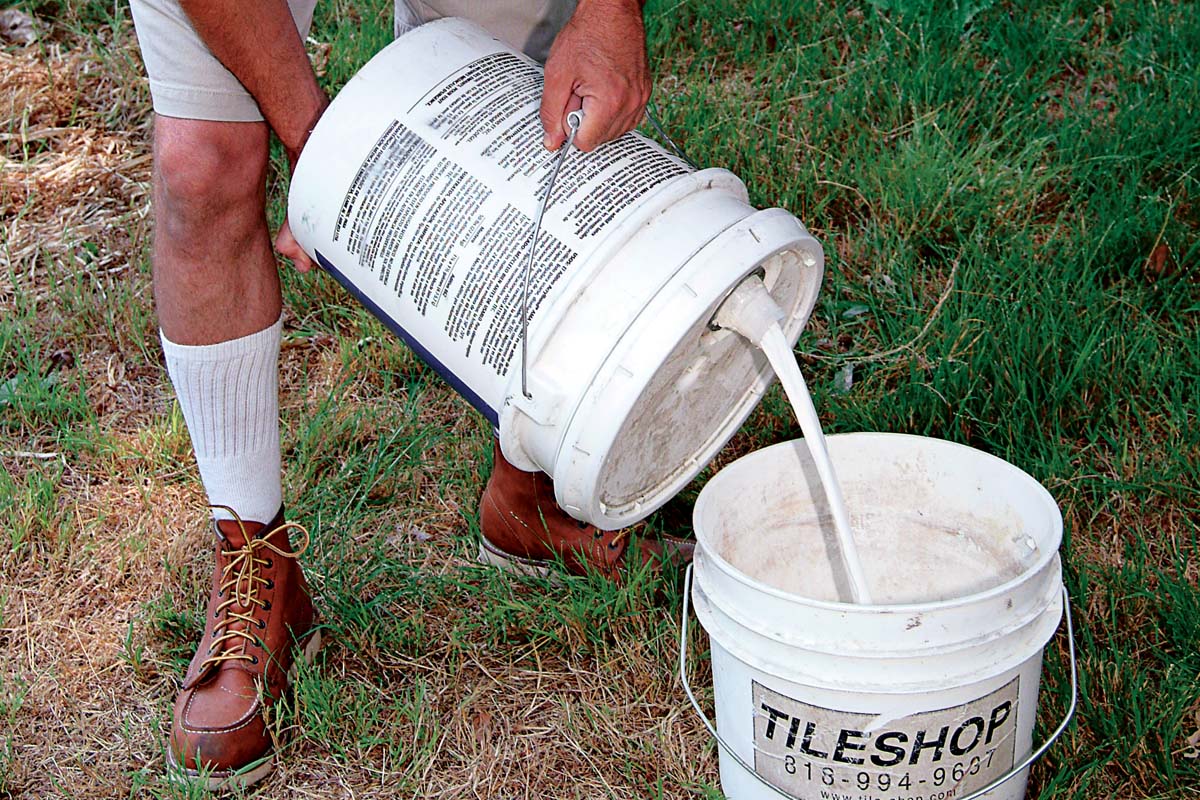
Thinset is a powdered cement and sand mixture that, when combined with water or fortifying additives, creates a strong mortar adhesive that’s terrific for bonding tile. When used correctly, thinset creates an inseparable bond between tiles and substrates.
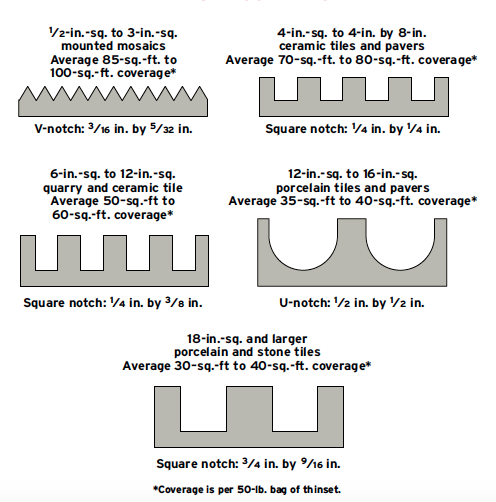
Thinsets are typically sold in 25-lb. or 50-lb. bags. The amount of thinset you’ll need depends on the size of the tile you’re installing and the notch size of the trowel you use to spread the thinset. See “Thinset Coverage” to help you estimate the amount you’ll need.
There are a wide array of thinset products, including standard, medium-bed, fast-setting, and flexible varieties. (There’s even a special thinset just for setting black and green marble!) Each of these products is described in the following sections, to help you choose the right one for your particular installation.
| TRADE SECRET: Acrylic in liquid form is often called latex. When it is included in a manufactured product as a dry material, it is called polymer modified. Both have the same properties; they’re just different compositions. |
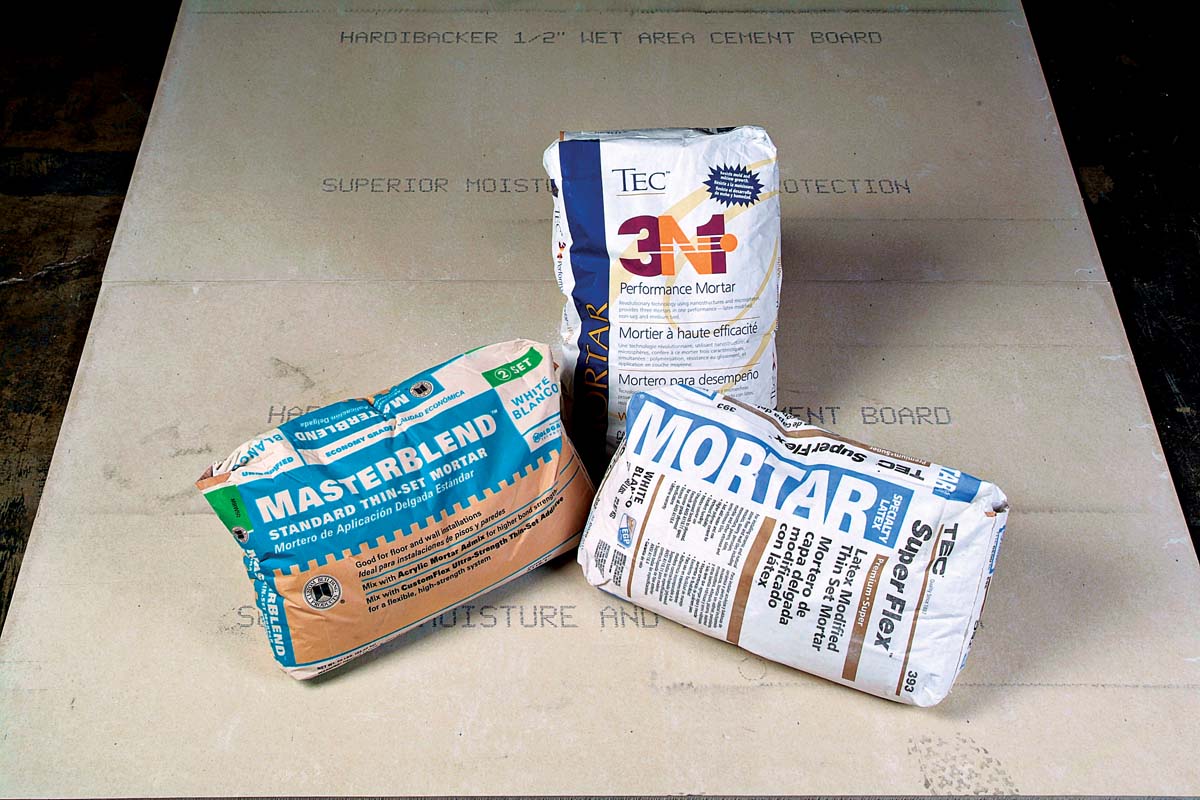
Standard thinset
Standard thinset is basic adhesive mortar that can be used to set all standard white- bodied or porous tiles. Adding acrylic admix to this thinset, instead of water, gives the mortar much greater strength and makes a mixture that’s right for setting any kind of tile, including porcelain and glass.
Thinset comes in either white or gray, depending on the cement color used in the manufacturing process. Your choice of thinset color should be based on the color of your grout: Use white thinset with lighter-colored grouts and gray thinset with darker-colored grouts. When installing translucent or transparent tiles, such as white marble and glass, always use white thinset so that the tiles will maintain their true color.
Fortified thinset and acrylic additives
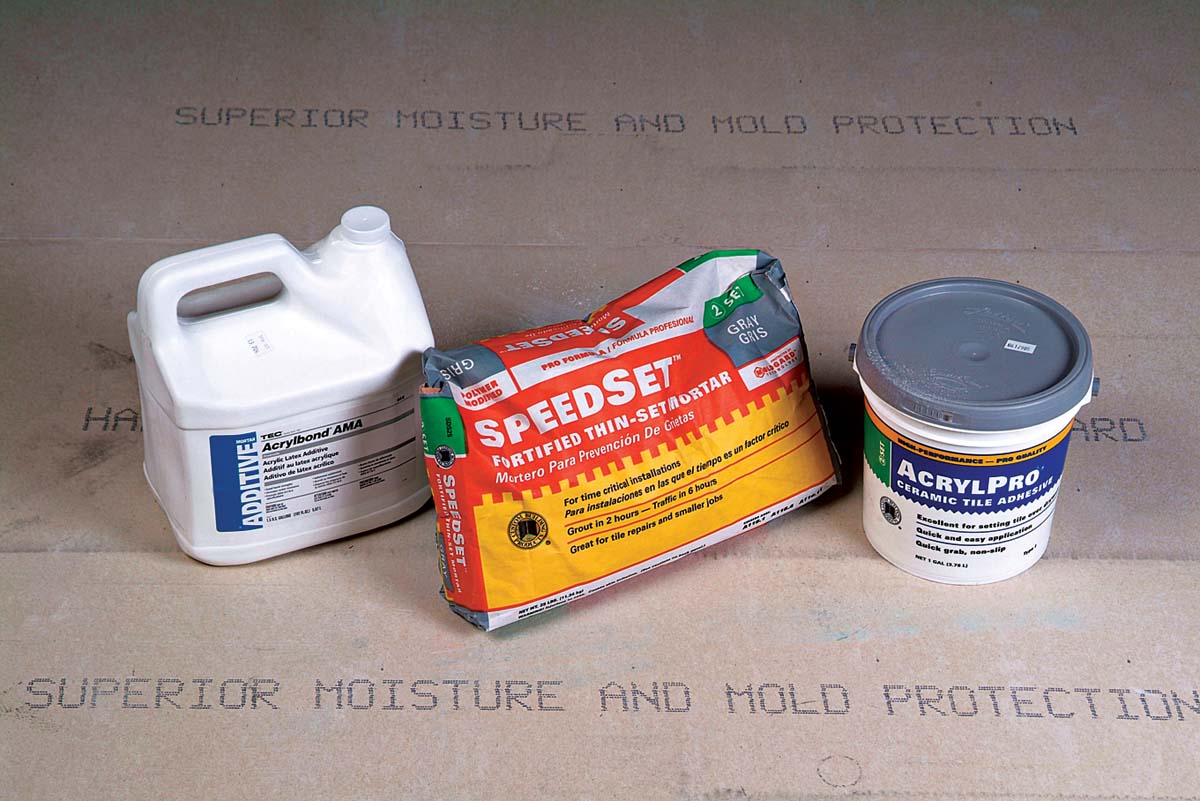
A fortified (or modified) thinset is just like standard thinset, except that it contains an acrylic additive to increase its strength. You can also make your own fortified thinset mortar, if you wish, by mixing standard thinset powder with an acrylic additive, such as Acrylbond®, instead of water.
Fortified mortars are good for any tile installation in which extra bonding strength is required, say when setting tiles that absorb moisture slowly (and hence, slow the drying and curing process), including glass, porcelain, and vitrified tiles as well as natural stone tiles.
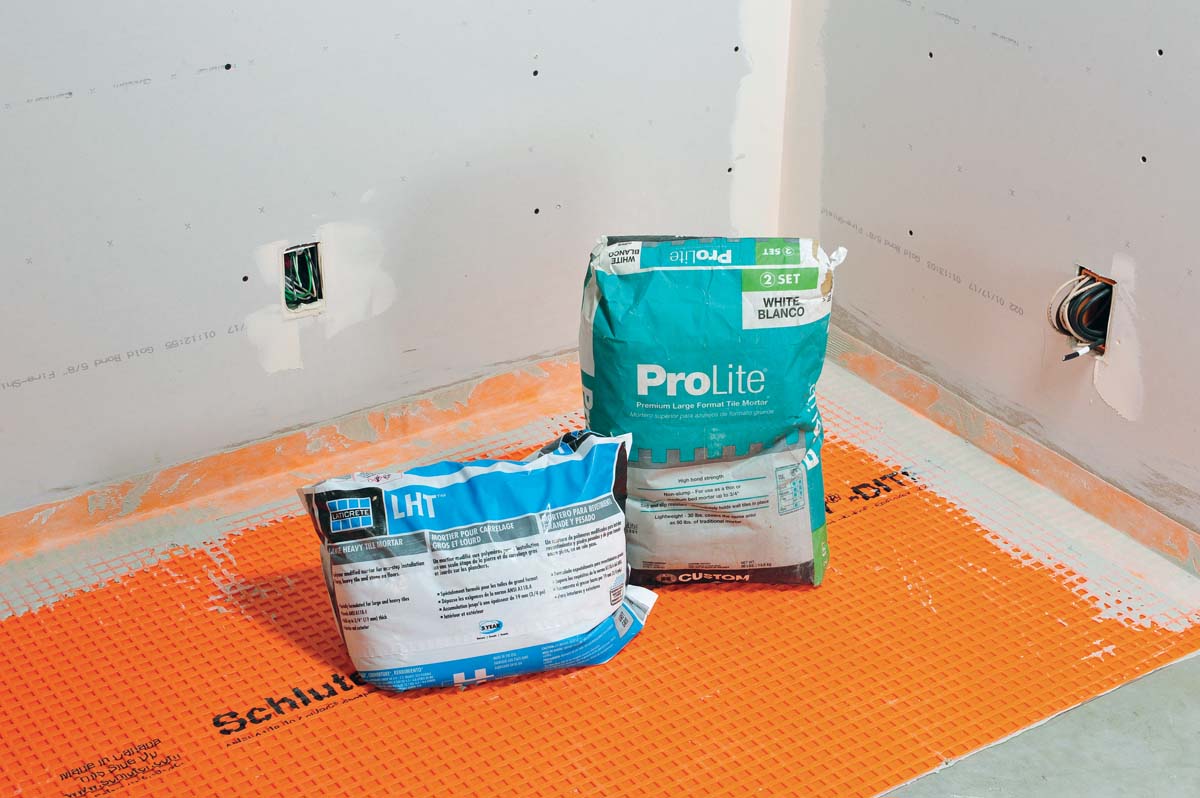
Large-format thinset
Large-format thinset has properties that make it great for setting big floor tiles. It is mixed with a larger-grain-size sand, so it does not compress like standard thinset. When you set large, heavy tiles into this robust thinset (20-in.-sq. paver tiles can weigh over 10 lb. each), it will not sag or allow tiles to droop. This is crucial when leveling tiles one to the other, a necessary step to achieve a flat floor. Another big advantage with this thinset is that it prevents larger tiles from sagging on a wall.

| WARNING: Acrylic-fortified thinsets bond strongly not only to tile but also to everything they come in contact with. Keep your work area scrupulously clean and have a water bucket and sponge handy to wipe thinset off the edges and faces of the tiles right after setting them. Keep your hands clean or expect to find thinset bonded to your fingernails. (If you end up with dried thinset on your tile, use an acrylic grout haze cleaner to remove it.) |
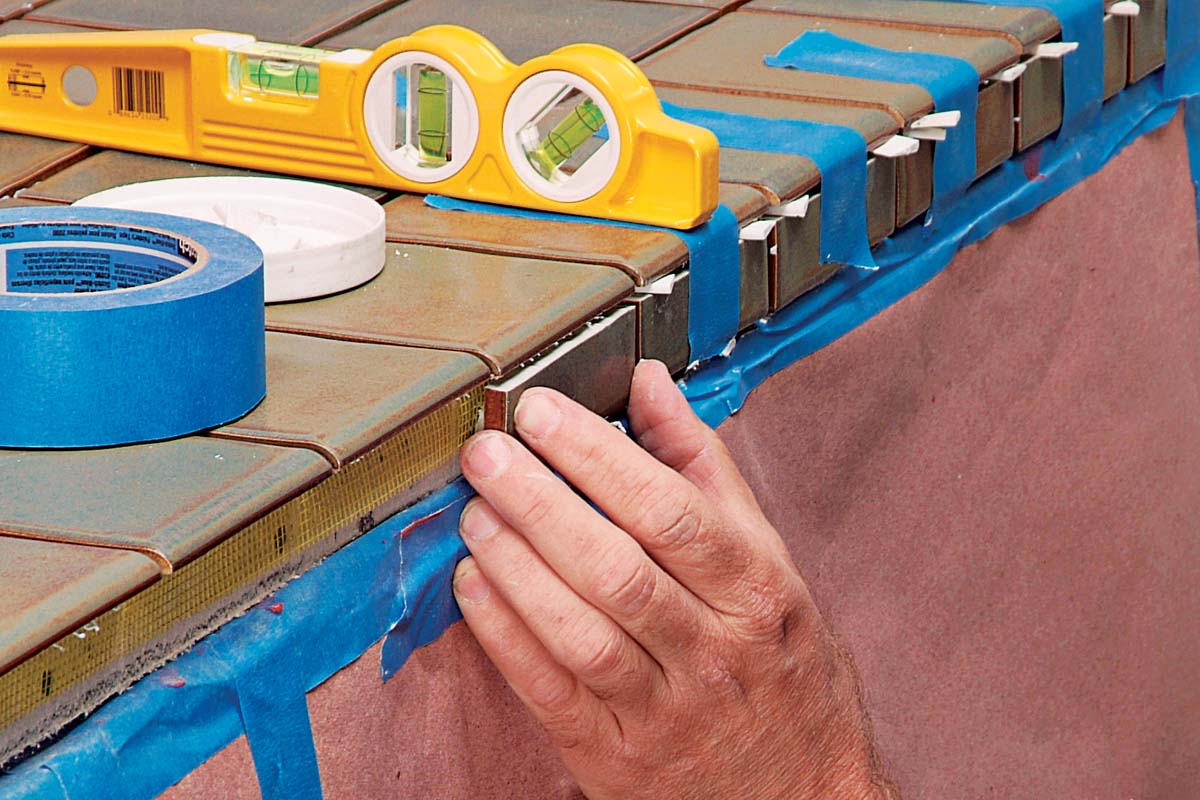
Fast-setting thinset
Fast-setting fortified thinsets such as SpeedSetTM allow you to install tile and grout on the same day. These products are convenient for commercial projects and high-traffic areas because they offer minimal downtime from productivity. They are also a great choice when setting tile on the edges of countertops and other vertical surfaces. If adhered with standard slow-drying thinset, vertical tiles could slip out of place, especially if jarred.
Fast-setting thinset has a short open time (20 minutes to 30 minutes), so it’s best to mix and apply in small batches. It sets firm enough to allow grouting in about 4 hours (though grout still needs between 12 hours and 3 days to cure, depending on the type of grout you choose). Fast-setting thinset also provides great convenience when setting tiles in a household entry or other doorway, as it allows you to walk on those tiles only a few hours after they’re set.
Flexible thinset
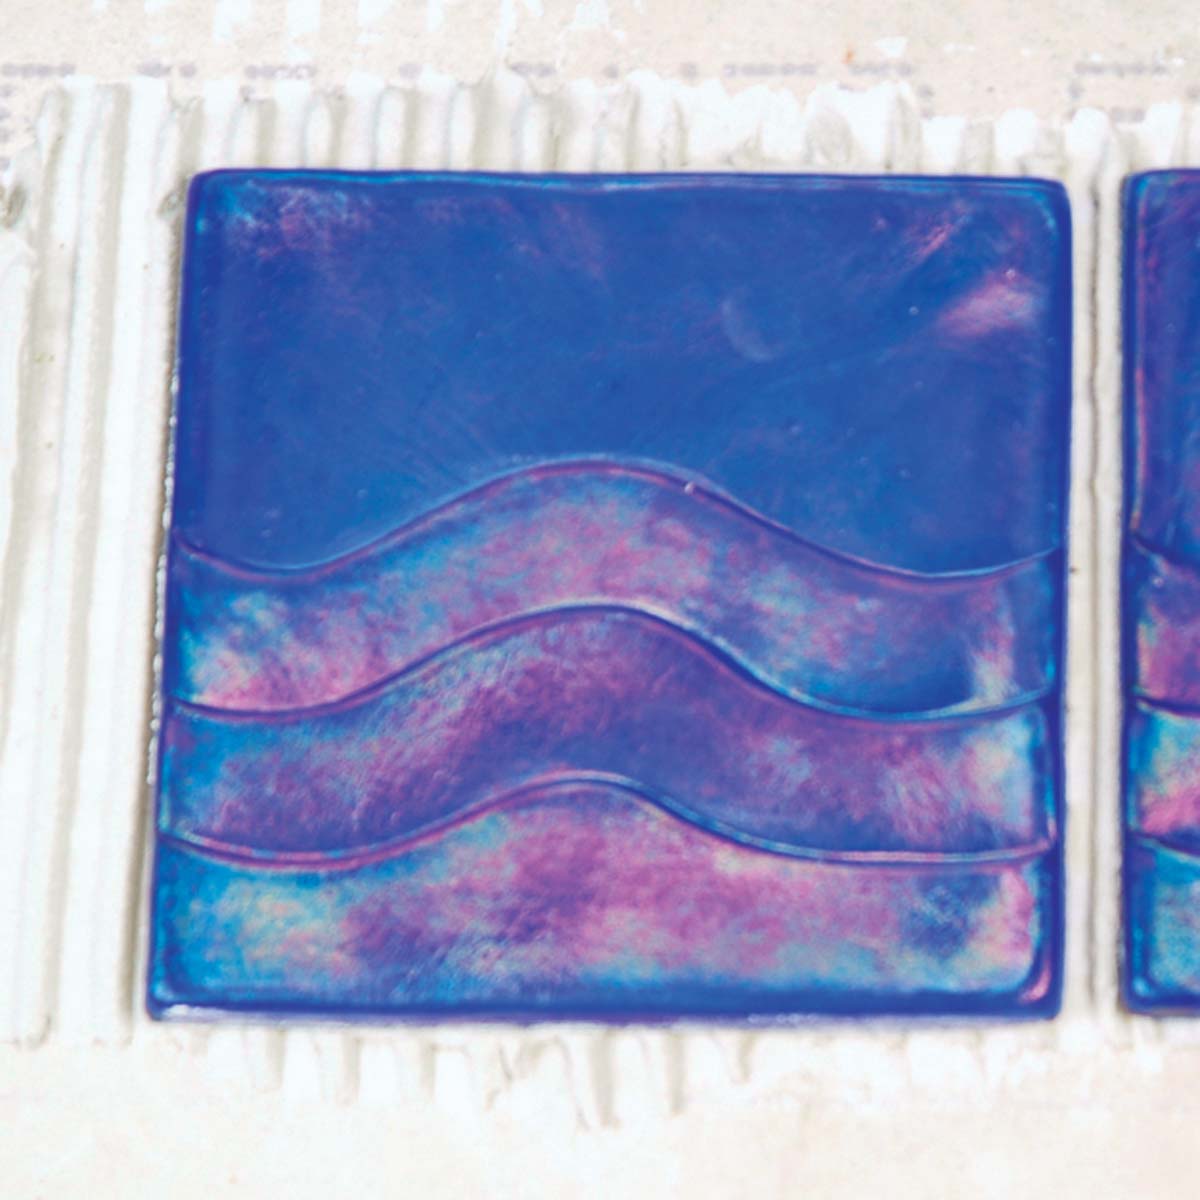
As unlikely as it sounds, there’s actually a flexible thinset that, despite being a concrete product, remains flexible after it has cured. This makes it a good choice for bonding tile over areas of substrate prone to cracking (say, a concrete floor) in place of an antifracture membrane. Flexible mortar is also good for setting small areas of glass tile. This saves time and trouble by allowing you to set a few glass liners or accent tiles surrounded by ceramic tiles, without having to apply an antifracture membrane to just those small areas.
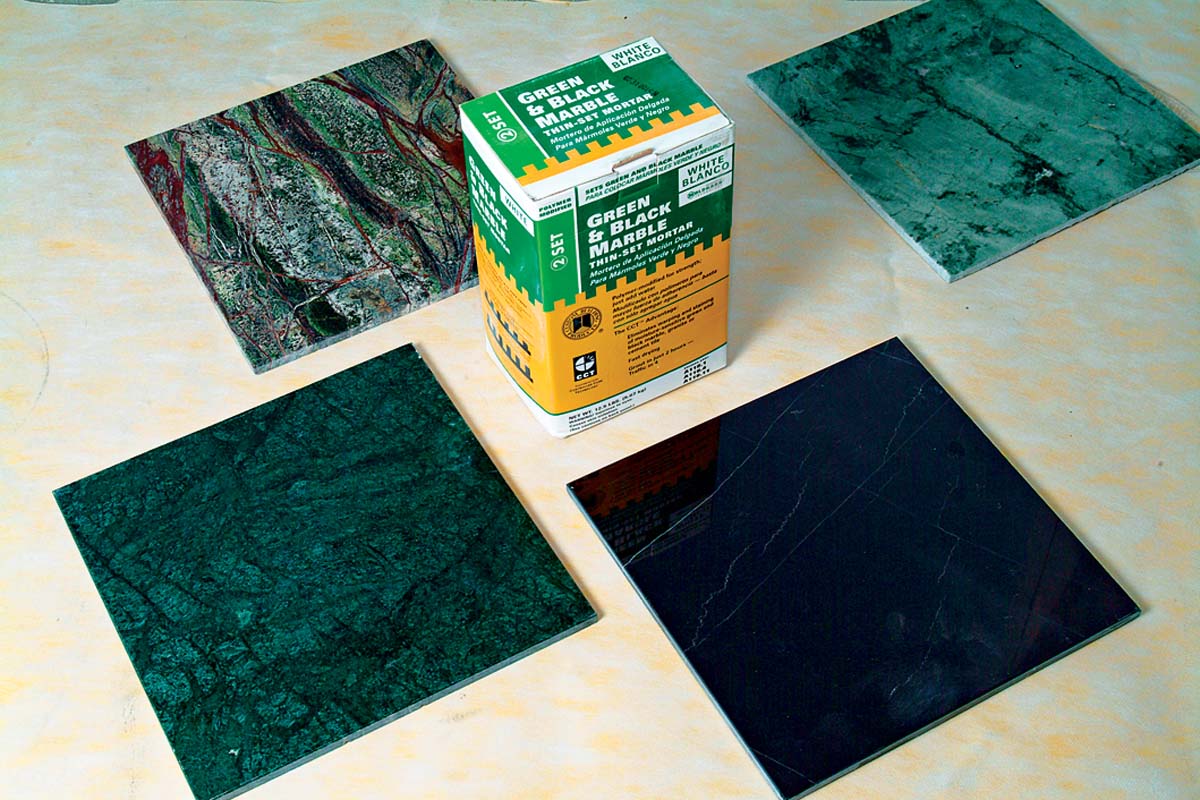
Green and black marble thinset
Unlike other types of marble tile, green and black marble are moisture sensitive. If you install them using standard thinset mixed with water or acrylic, the edges of the tiles will curl and warp away from the adhesive as it cures, destroying the bond with the substrate. Professional fabricators coat the backs of these tiles with epoxy, let them dry, and then install them with acrylic-modified thinset—an expensive, smelly, and messy process. It’s much easier to use a green and black marble thinset designed specifically for these types of marble tile (it’s also good for setting red marble tile). These mortars set up quickly, thus eliminating problems caused by moisture penetrating and distorting the stone.
Epoxy thinset
Like epoxy glue, epoxy thinset is made up of two components that, when mixed together, develop extraordinary bonding strength and resistance to chemicals. Far more expensive than other thinset mortars, epoxy thinset is best used for applications in which tile will be exposed to harsh conditions and heavy wear, such as in commercial kitchens and factories. Due to their toxicity and difficulty of use, we recommend them for use by only experienced professionals.
Thinset Coverage
| MASTICS: Mastic is an adhesive primarily used to bond tile to drywall or plywood. The advantages of mastic products, such as AcrylPro®, are that they are inexpensive and there is no mixing involved. Mastic has a higher initial tack than thinset usually does, which is good when installing tile on vertical surfaces. On the other hand, mastic’s bonding strength is not superior to thinset mortars, and mastic cannot be used with many types of tile, including natural stone and glass. It’s also ill advised to use mastic to bond tiles around fireplaces and stoves, as well as in areas where tile will get wet (floors, showers, sinks). |
 Excerpted from Tiling Complete, 2nd Edition by Robin Nicholas and Michael Schweit.
Available in the Taunton Store and at Amazon.com.
